TOMO Card Challenge 2026
Late last year, I was invited to join an exclusive enclave of animators located within Ontario's golden horseshoe. It seems they run community animation challenges at a somewhat frequent rate, and this was exciting to me, as the last animation challenge I had participated in was a Lego stop motion challenge back in high school. Yep its been all BUSINESS since then. Below, we will walk through the challenges and learnings I came across while building this out!
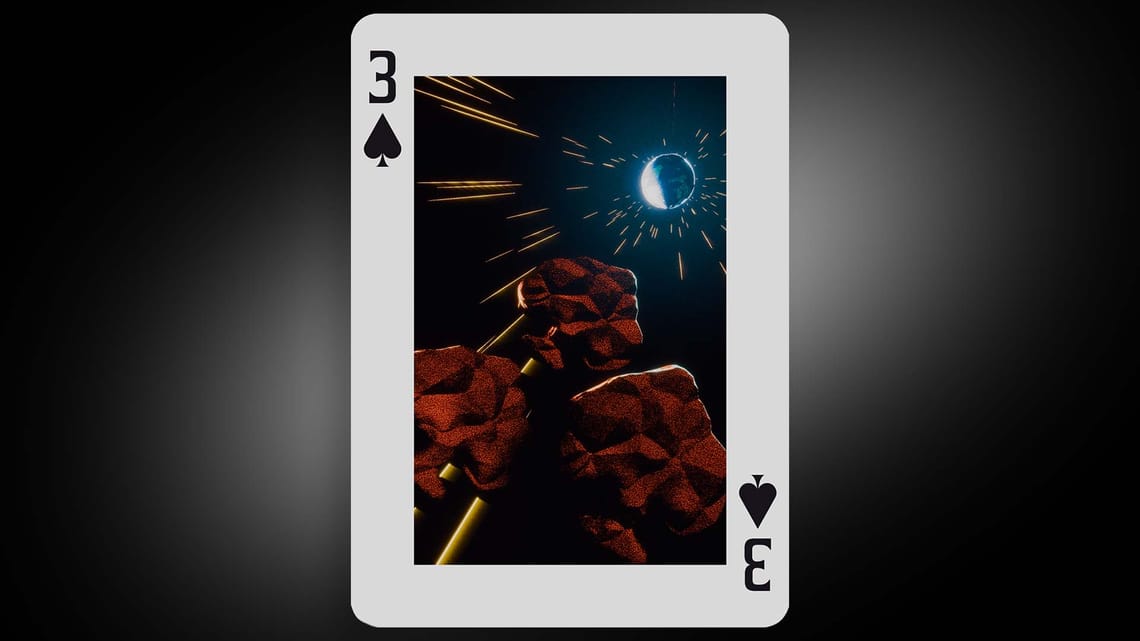
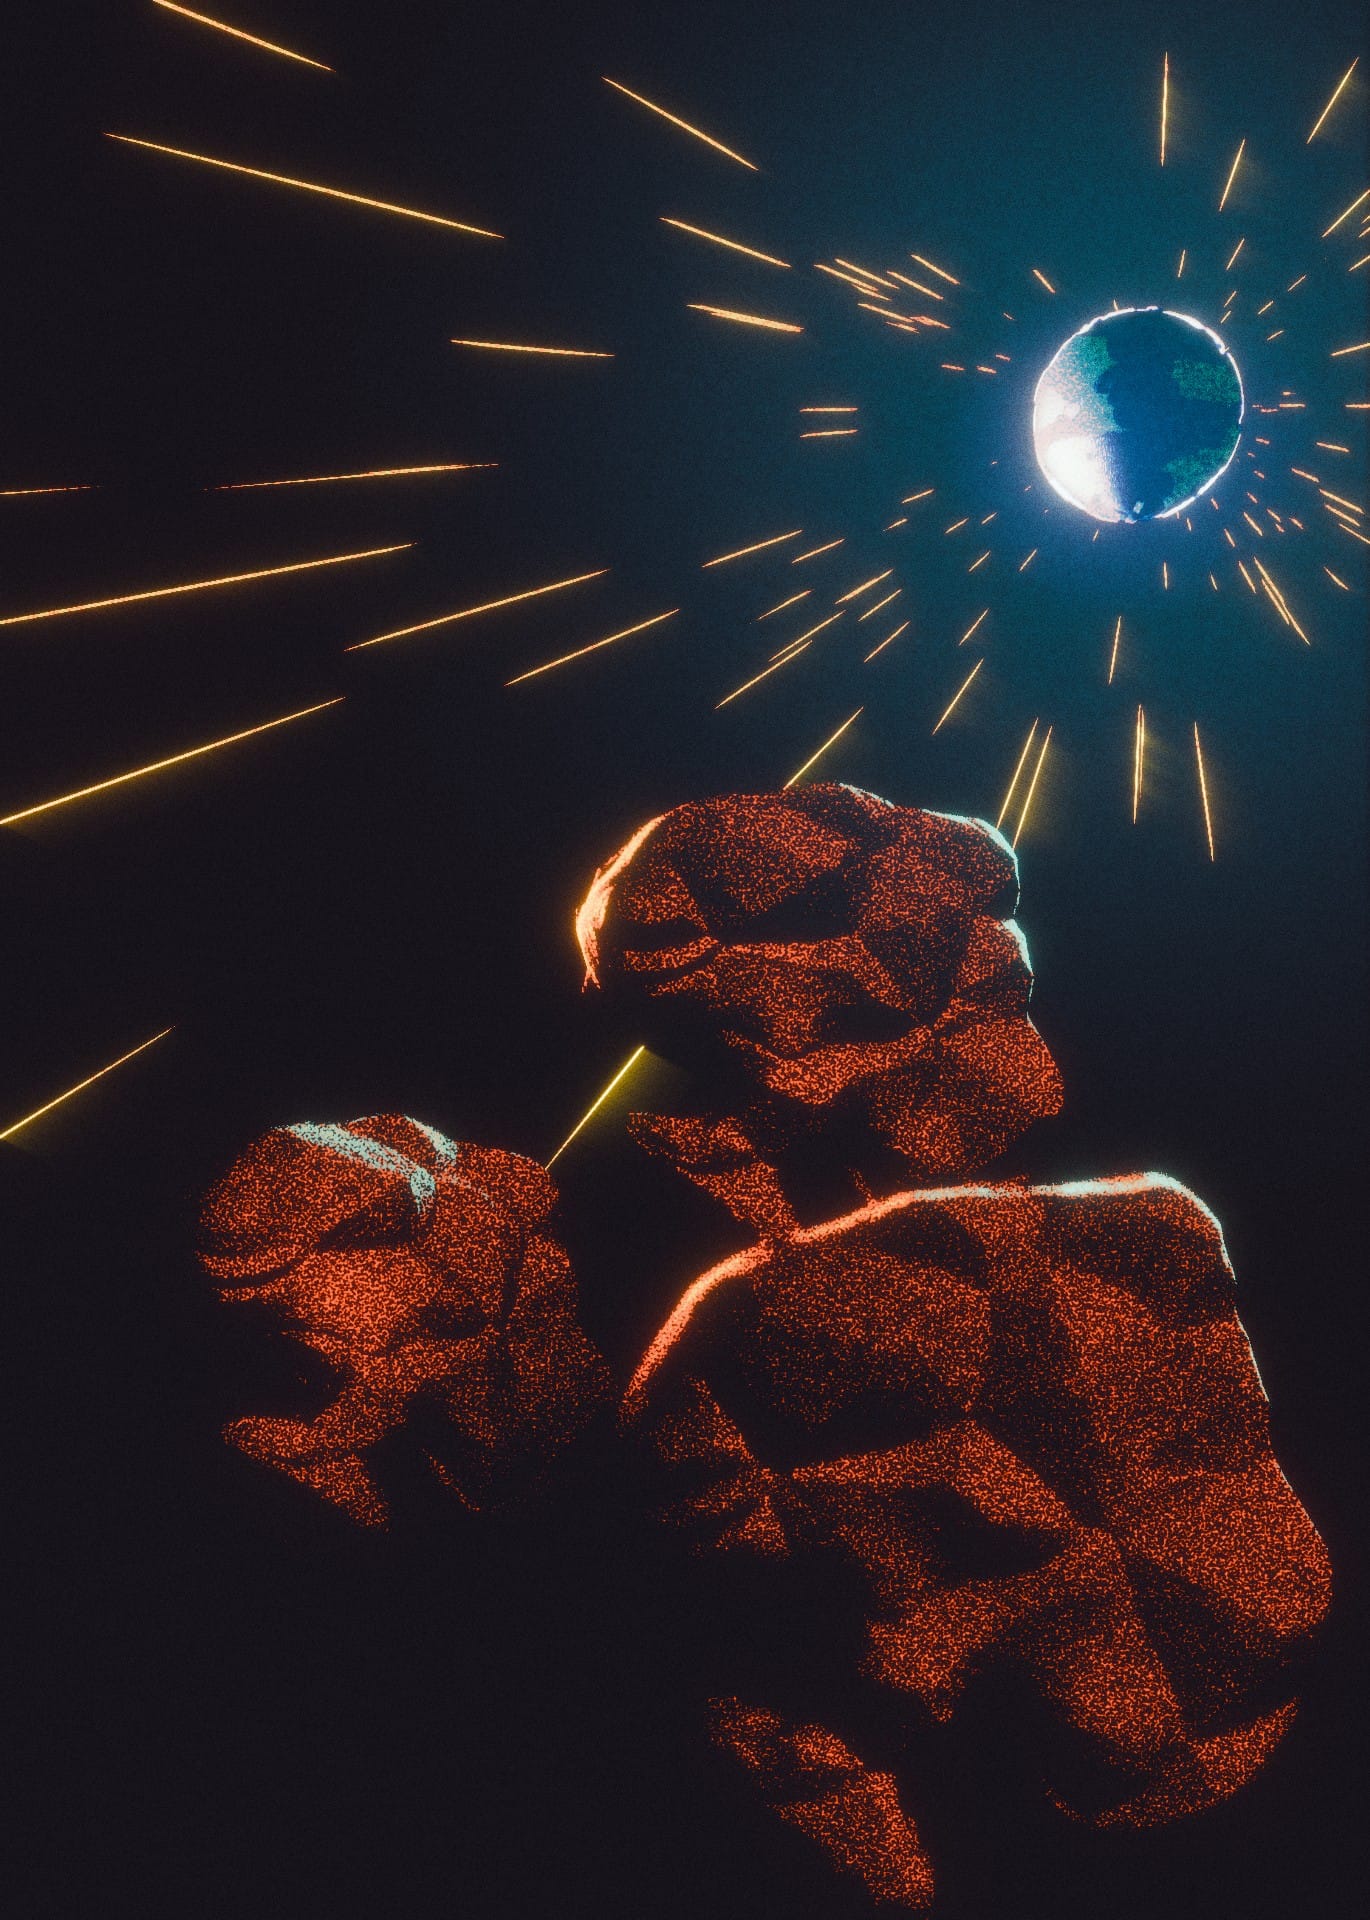
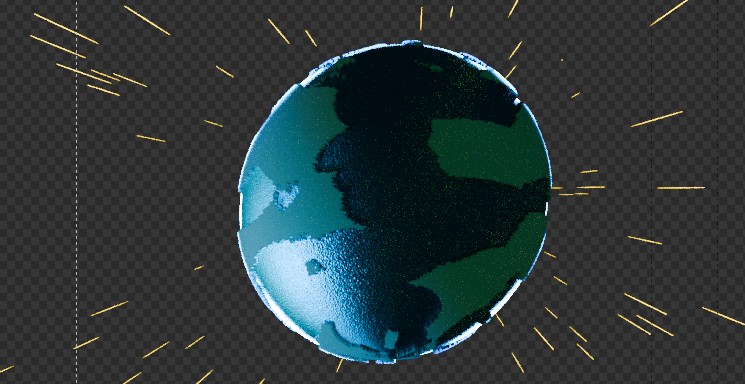
The Looping animated asteroids
The Learning
I'm always inspired by wild-looking sci-fi renditions on Instgram so I had the brilliant idea to try and create my own world in an interesting style. Perhaps something I could revisit every so often to tell new stories in. Let me tell you. That takes a lot of effort. Below you can see my first attempt at this challenge. A deeper environmental art with a painterly style. ALL things I had never tried before.
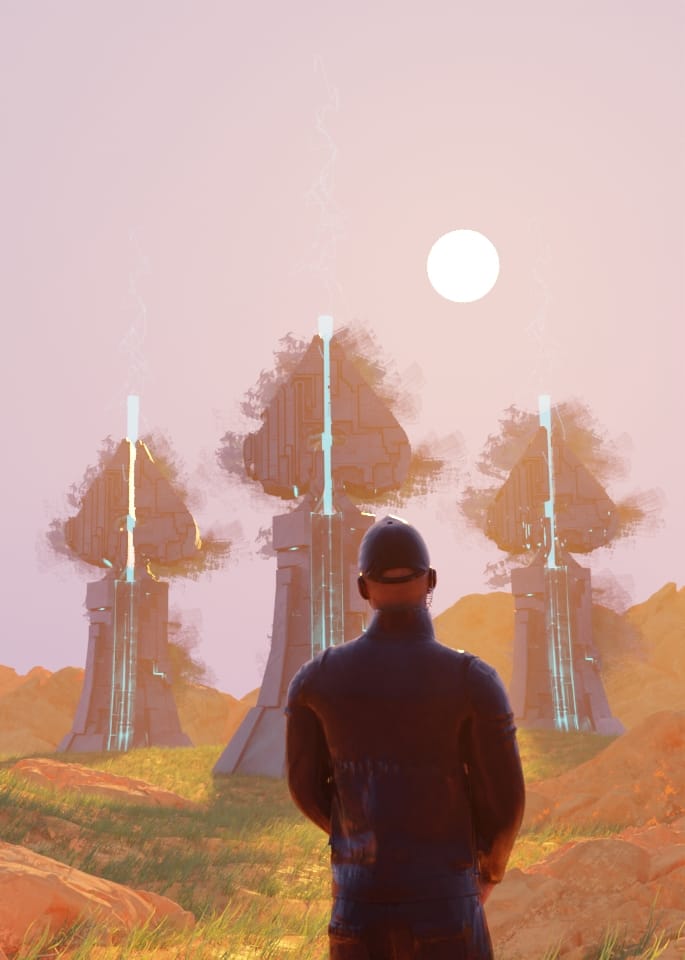
The first attempt at environment art
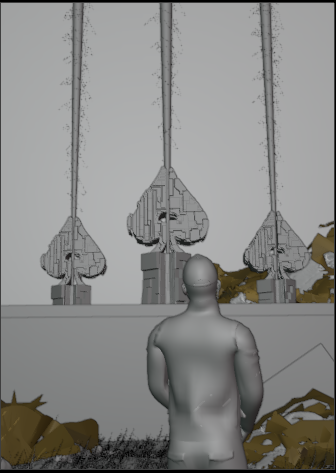
I punched a little above my weight here and realised the amount of time required to polish a whole environment was probably more than the amount of time remaining to complete the challenge. This is when you have to take a step back and get off the sinking ship in order to start building a new one. A great lesson about the sunk cost fallacy here. Despite the amount of time and fun I had trying to create the environment, I am ultimately glad I took a step back and came at it with a different approach.
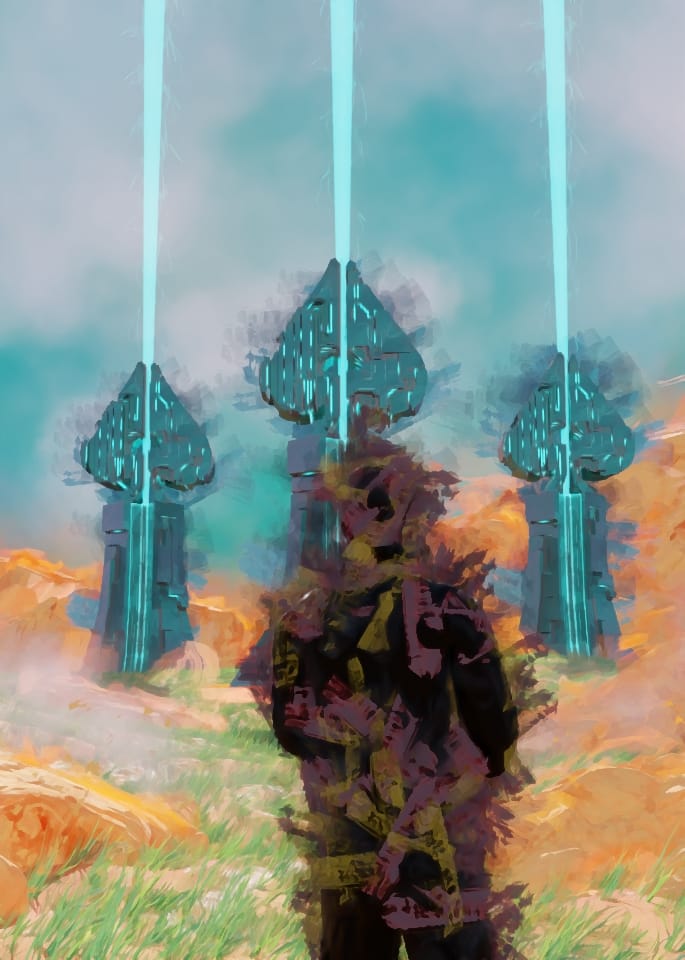
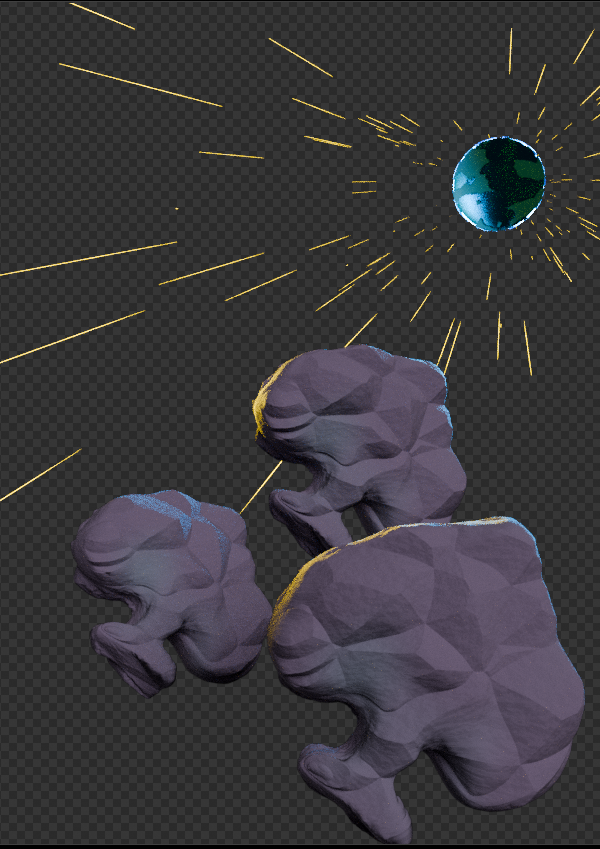
The test render - GEO nodes was not playing nice.
The Process
Now onto the real project and the real process. Early into my second attempt, I had the idea to challenge myself and fully complete this project within Blender. That would involve getting more comfortable with the compositor and finally opening up the VSE.
This second attempt went through two possible versions. As seen in the gallery above, I had wanted to try a version where the asteroids flew around in a circle and slowed only when the Earth was in view. The star system I had built for the straight-on view didn't work for this, and the MATHEMATIC GYMNASTICS I went through attempting to get it to bend around a circle proved to be too much for me, and as such, I abandoned this view. We'll get more into the intricacies of this project below.
The Compositor
Side by side showing pre and post compositing.
This was not my first time using the Blender compositor. I'm sure we have all opened that up to use the Glare node at least a dozen times. But this was the first time I made the conscious effort not to take my frame sequence into After Effects for my finishing process.
To complete the final composition above, I used almost every tool in the box. We're talking ID masks, Crypto Mattes, compositing light groups, etc, etc.
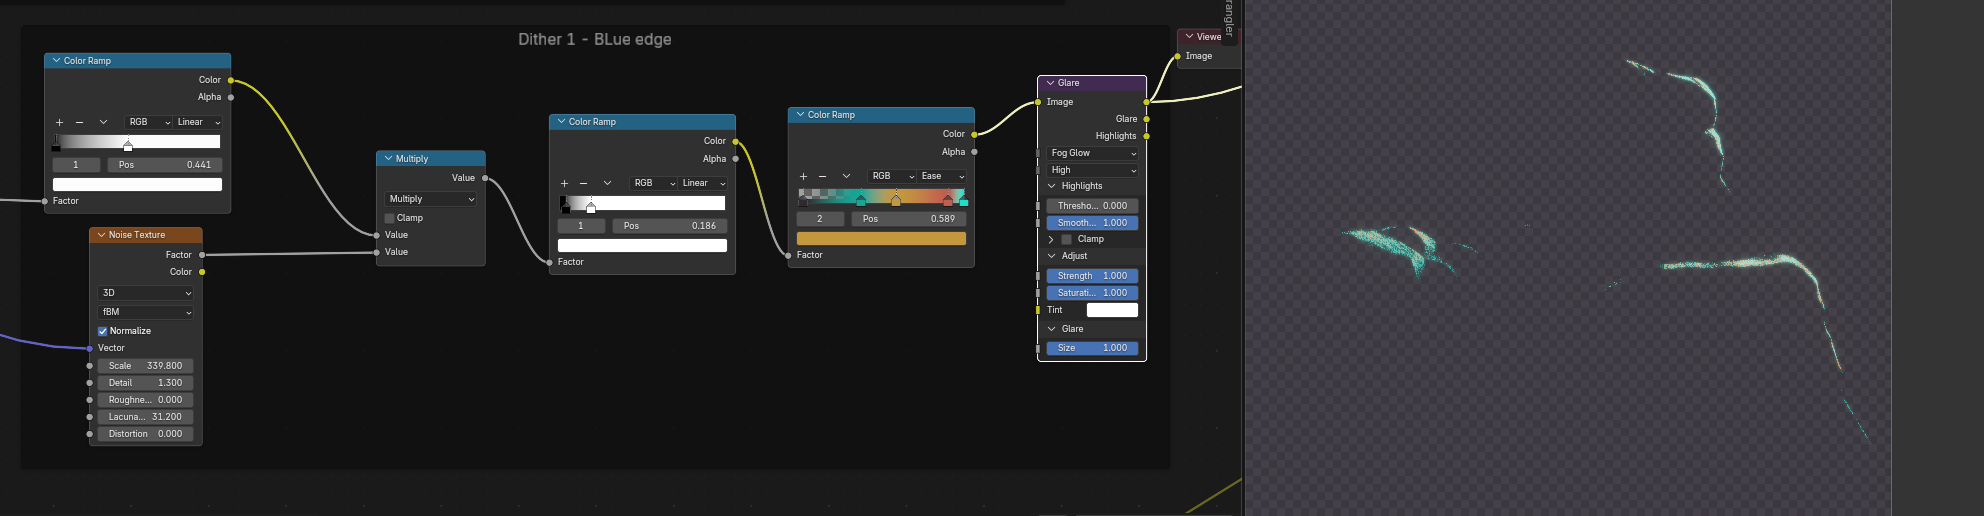
Light groups are something I used extensively on this project. For a stylised render like this, they allow a great deal of granular control over your light sources. In the example above, I am using a light group that contains all of my blue light sources. This allowed me to apply a specific glare node to JUST this light as well as really fine-tune the colour and look of that glow. Ultimatley having this data in its own separate group here allows me to use traditional blending modes (Screen, add, dodge, etc) to apply it over the main image, which once again allows even greater fine control of how these lights appear in the final composition.

Above, you can see my entire node graph for this composition. IT is probably not the cleanest one you have seen, but I did make an effort to label everything. If you zoom in, you should be able to tell what is going on. Simply put, each group is a different colour of dithering effects that I am blending together on the right side. The purple lines represent vector data, and this is what drives the animation of the dithering effects.
Materials
The materials for this were not as important as I knew I wanted to do the heavy lifting in the compositing stage. But with that being said, the 2 main objects in this scene, the asteroids and the earth are both created via procedural displacement within the materials they are using.
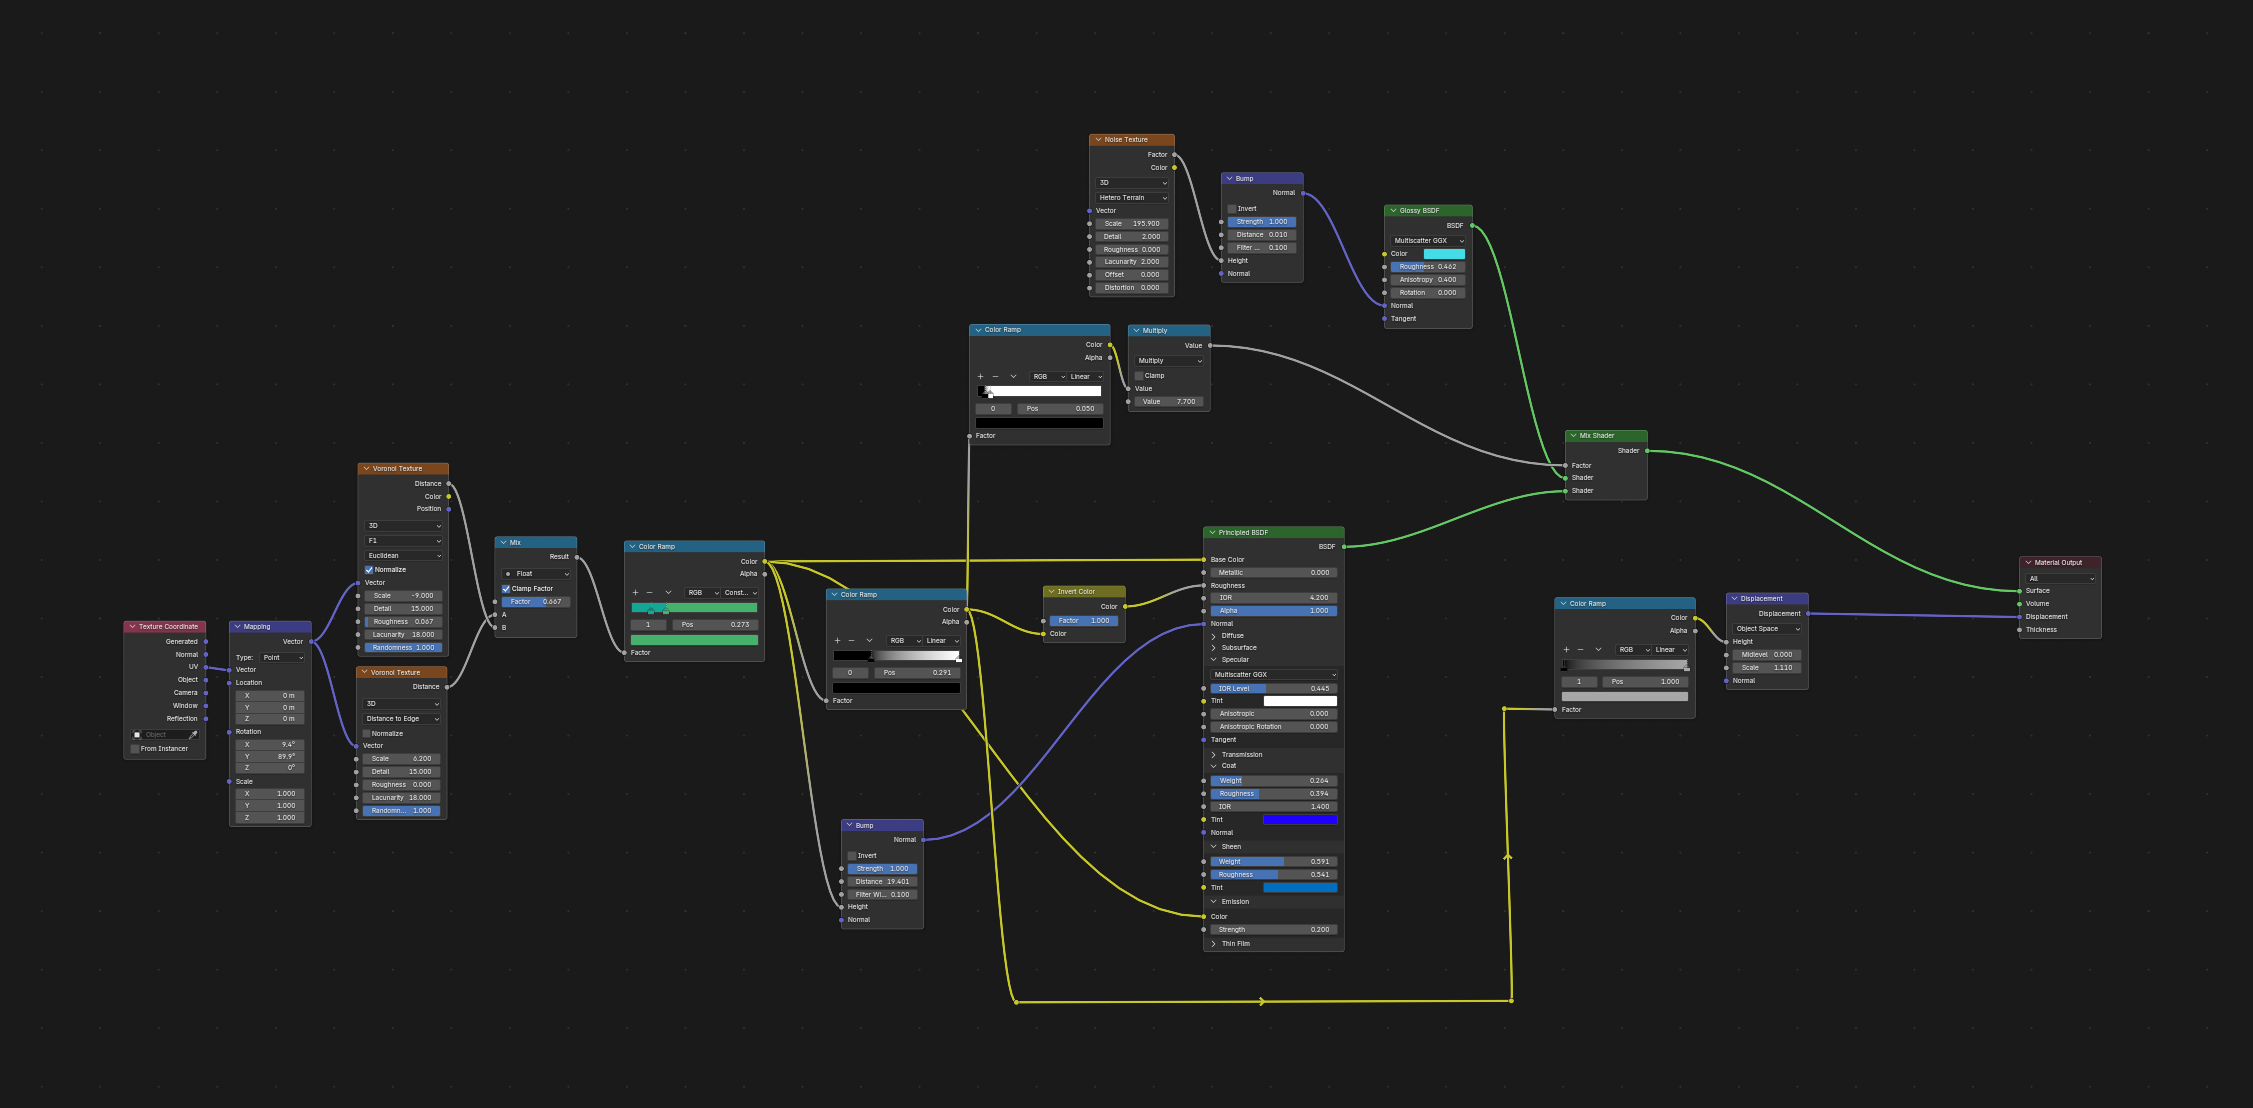
We were assigned a limited colour palette for this challenge, and 2 of the colours just happened to be perfect for a cartoon stylised earth, so here we are! The main driver for this material is 2 Voronoi Textures blended together. That matte drives the colours, the displacement and the shader selection, allowing us to distinguish the water from the terrain.
The VSE
Most people do not think of Blender as an NLE, and there is a good reason for this. Look It's no secret that I love Blender and everything it stands for, but I cannot see the purpose of this part of the software. I mean, even the official webpage for it looks incomplete at the time of writing this.
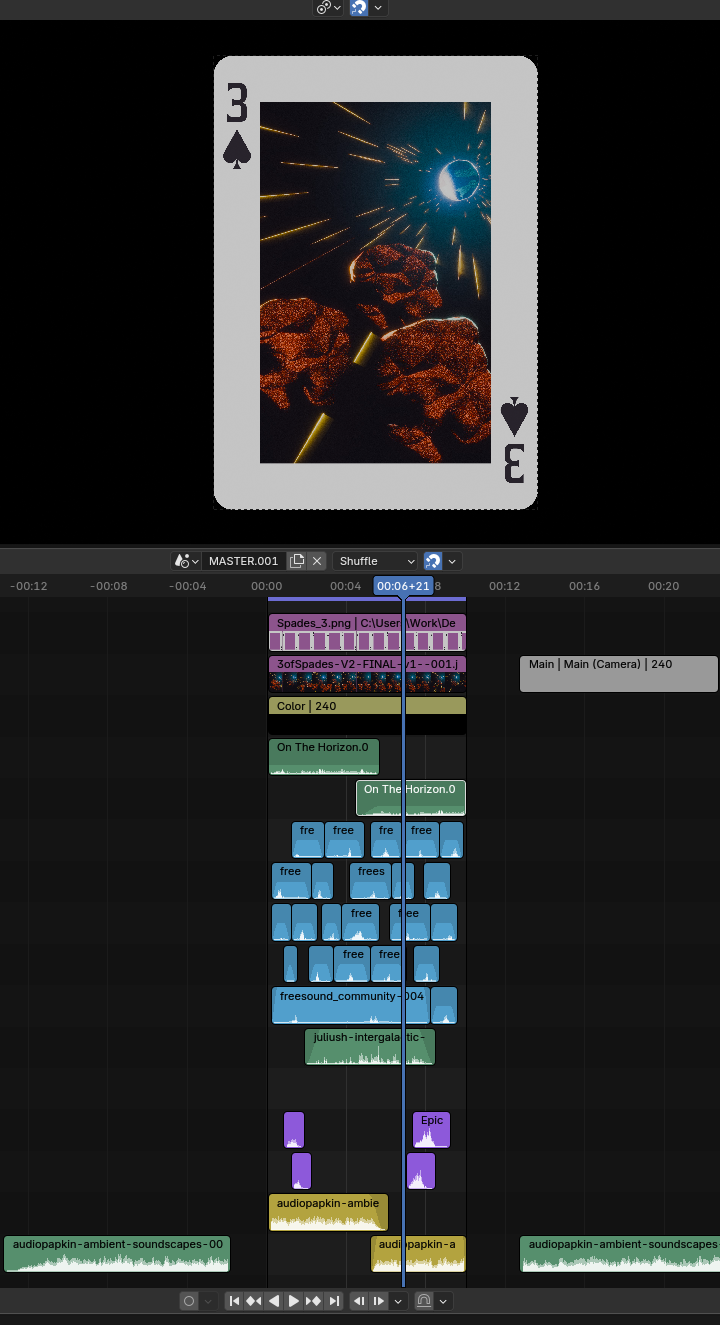
As you can see above, I used the VSE to add sound effects and overlay the 3 of spades card template. The visual overlay worked fine, no problem, and I can see myself coming back to this aspect of it any time. I do enjoy the way it functions as part of the post-processing pipeline along with the compositor within the Blender Render logic. The problem for me involves the audio. I have nearly 20 years of video editing experience at this point, and all I can say is WHY did you make a video editor that has no way to monitor audio levels? I can adjust each clip with a volume float slider. BUT thats jsut it. A float value between 1 and 0. How many db is this? How close to 0 am I getting when I layer all my sound effects together?
All in, the VSE feels like an ancient part of Blender that has not been touched in a decade. I encountered errors resulting in 1byte mp4s and spent too much time trying to troubleshoot the issues I encountered. With some bug fixing and smoothing, this could be a passable video editor and a useful part of the Blender workflow.
Conclusion
The final video with Sound
Here is the final video again, and this time with sound. Listen to what I managed to smash together with the VSE.
Overall, this challenge taught me an important lesson about failing fast. Digital art is the perfect medium for rapid prototyping. If something feels off, try again. throw it out. Learn from your mistakes; this is the way we will all improve as artists. So from one artist to the next, thanks for reading and happy creating!


